Containers optimize our daily development work. Containerized applications are standardized so we can easily switch between development environments, migrating to a test or reusing the same container images for our production workloads.
However, a challenge arises when we need to use more than a single container. For instance, we may develop a web front end connected to a database back end, both running inside containers. While not impossible, this approach risks removing some (or all) of that container magic, as we need to consider storage interaction, network interaction, and ports.
Docker Compose streamlines developing workloads that rely on running multiple containers simultaneously. One such example is a WordPress website that’s protected with an NGINX reverse proxy and requires a MySQL database back end.
Alternatively, consider an e-commerce platform with a complex microservices architecture. Each cycle runs inside its own container — from the product catalog, to an order basket, through the payment transaction, and finally, shipment to the customer. These processes rely on the same database back-end container runtime, using a Redis container for caching and performance.
Maintaining a functional e-commerce platform requires running several container instances. Moreover, this doesn’t address the additional challenges of scalability or reliable performance.
While Docker Compose allows us to create our own solutions, building the necessary Dockerfile scripts and YML files can take some time. So, Docker introduced the open source Awesome Compose library in March 2020. As a result, we can now access pre-built samples to kickstart our Docker Compose projects.
Let’s first take a more detailed look at Docker Compose. Then, we’ll explore step by step how to spin up a new development project using Awesome Compose.
We recommend that you have some practical knowledge of Docker concepts and base commands to follow along. However, this isn’t required.
Exploring Docker Compose
Docker Compose is based on a docker-compose.yml file. This file specifies the platform’s building blocks, typically referencing the running ports and the necessary standalone Docker container images.
Next, instead of running individual Docker commands to start up each container image, execute docker-compose up to start the full sequence of related containers.
The below example represents a potential docker-compose.yml file for a WordPress site with a MySQL Database and an NGINX reverse proxy for the web workload. Note: We shortened the file for illustration purposes.
					version: "3.1"
services:
  mysql:
	image: mysql:8.0.28
	container_name: demomysql
	networks:
  	- network
  wordpress:
    depends_on:
  	- mysql
	image: wordpress:5.9.1-fpm-alpine
    container_name: demowordpress
    networks:
  	- network
 nginx:
    depends_on:
  	- wordpress
	image: nginx:1.21.4-alpine
    container_name: nginx
	ports:
  	- 80:80
	volumes:
  	- wordpress:/var/www/html
	networks:
  	- network
networks:
  network:
	driver: bridge
Notice the three separate docker images (WordPress, MySQL, and NGINX). Each container has its own characteristics, such as network ports and volumes.
When your development work is done, you can shut down the environment using the docker compose down command.
Using Docker Desktop and Awesome Compose
Getting Started
First, you need Docker Desktop on your development machine (Mac, Windows, or Linux). You can verify that it’s in place by initiating a docker run hello-world command:
C:\>docker run hello-world
This action should give the following output indicating that the installation is working correctly:

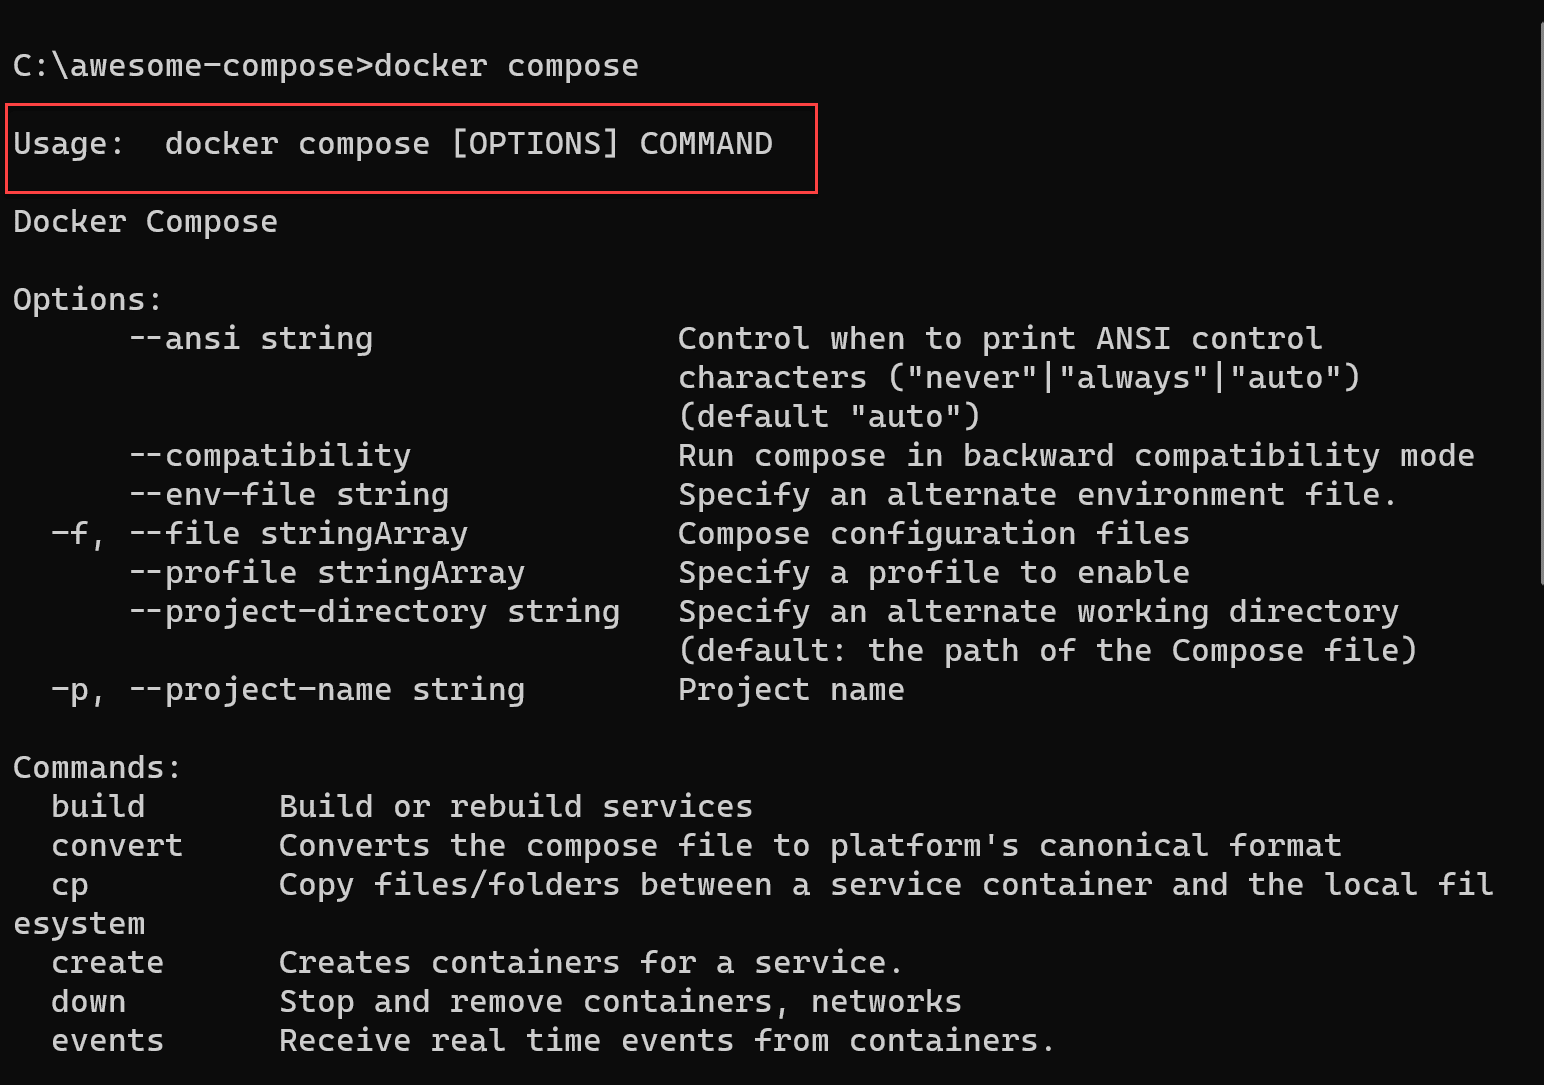
You also need Docker Compose on your development machine. You can verify its installation by initiating a docker compose command:
C:\>docker compose
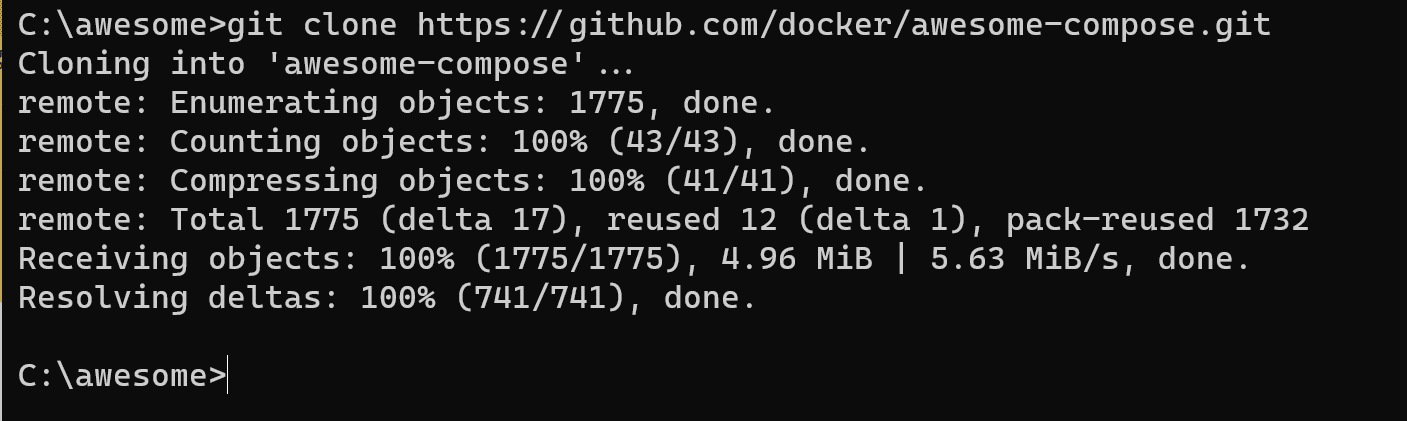
Next, download or clone the Awesome Compose GitHub repository to your local machine. Assuming that you’re familiar with Git and that it is running on your machine, you only need to run this command:
Git clone https://github.com/docker/awesome-compose.git
Alternatively, if you aren’t comfortable with Git or aren’t running it, you can download the repository as a ZIP file and extract it into its own folder.
Adjusting the Awesome Compose Code
After downloading Awesome Compose, go into the appropriate subfolder to spin up the sample environment. For this example, we’ll use WordPress with MySQL. So, go to the wordpress-mysql subfolder.
Next, open the docker-compose.yml file in your editor of choice, and familiarize yourself with the components. Make the following changes in the provided YML file:
- Comment line 4:
image:mariadb:10.6.4-focal(we will use MySQL instead). - Uncomment line 6:
image: mysql:8.0.27 - Provide a complex password for the following variables:
MYSQL_ROOT_PASSWORD(line 12)MYSQL_PASSWORD(line 15)WORDPRESS_DB_PASSWORD(line 27)
The updated file should look like this:
					services:
  db:
    # We use a mariadb image which supports both amd64 & arm64 architecture
    #image: mariadb:10.6.4-focal
    # If you really want to use MySQL, uncomment the following line
    image: mysql:8.0.27
    command: '--default-authentication-plugin=mysql_native_password'
    volumes:
      - db_data:/var/lib/mysql
    restart: always
    environment:
      - MYSQL_ROOT_PASSWORD=P@55W.RD123
      - MYSQL_DATABASE=wordpress
      - MYSQL_USER=wordpress
      - MYSQL_PASSWORD=P@55W.RD123
    expose:
      - 3306
      - 33060
  wordpress:
    image: wordpress:latest
    ports:
      - 80:80
    restart: always
    environment:
      - WORDPRESS_DB_HOST=db
      - WORDPRESS_DB_USER=wordpress
      - WORDPRESS_DB_PASSWORD=P@55W.RD123
      - WORDPRESS_DB_NAME=wordpress
volumes:
  db_data:
Save the file changes and close the editor.
Running Docker Compose
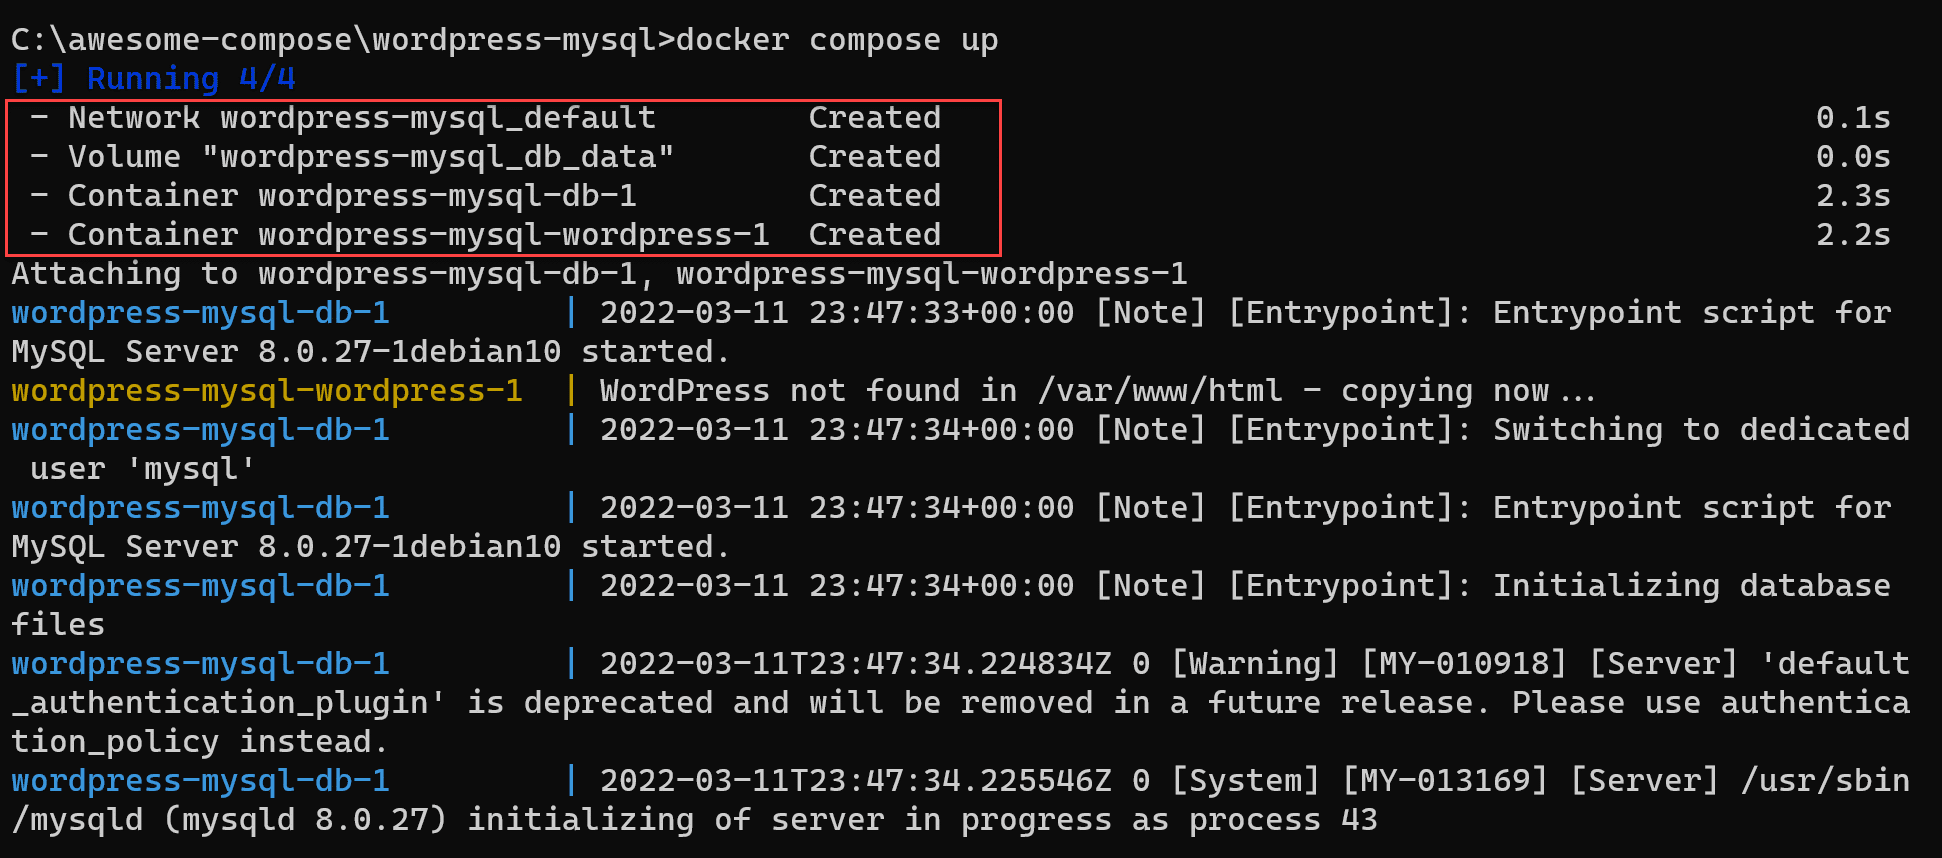
Run the following command from the command prompt to initiate Docker Compose:
docker compose up -d
This command kicks off the process. It downloads and then starts the various container images from Docker Hub. After a few minutes, Docker prompts you with information showing two active runtimes — one for the WordPress instance and one for the MySQL DB instance.
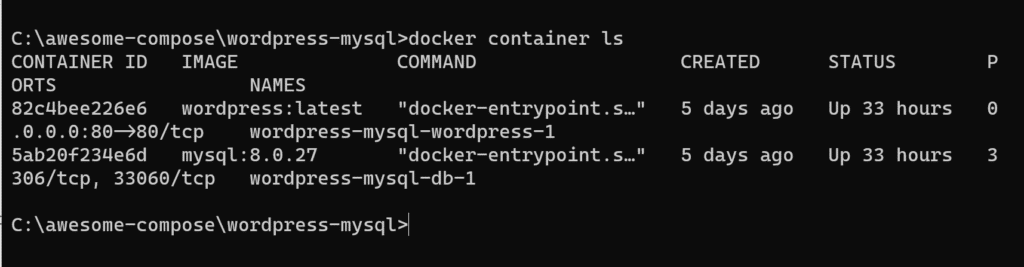
Now, initiate the following Docker command to validate that the containers are running as expected:
Docker container ls
This command should show the various containers running and their corresponding ports in use:
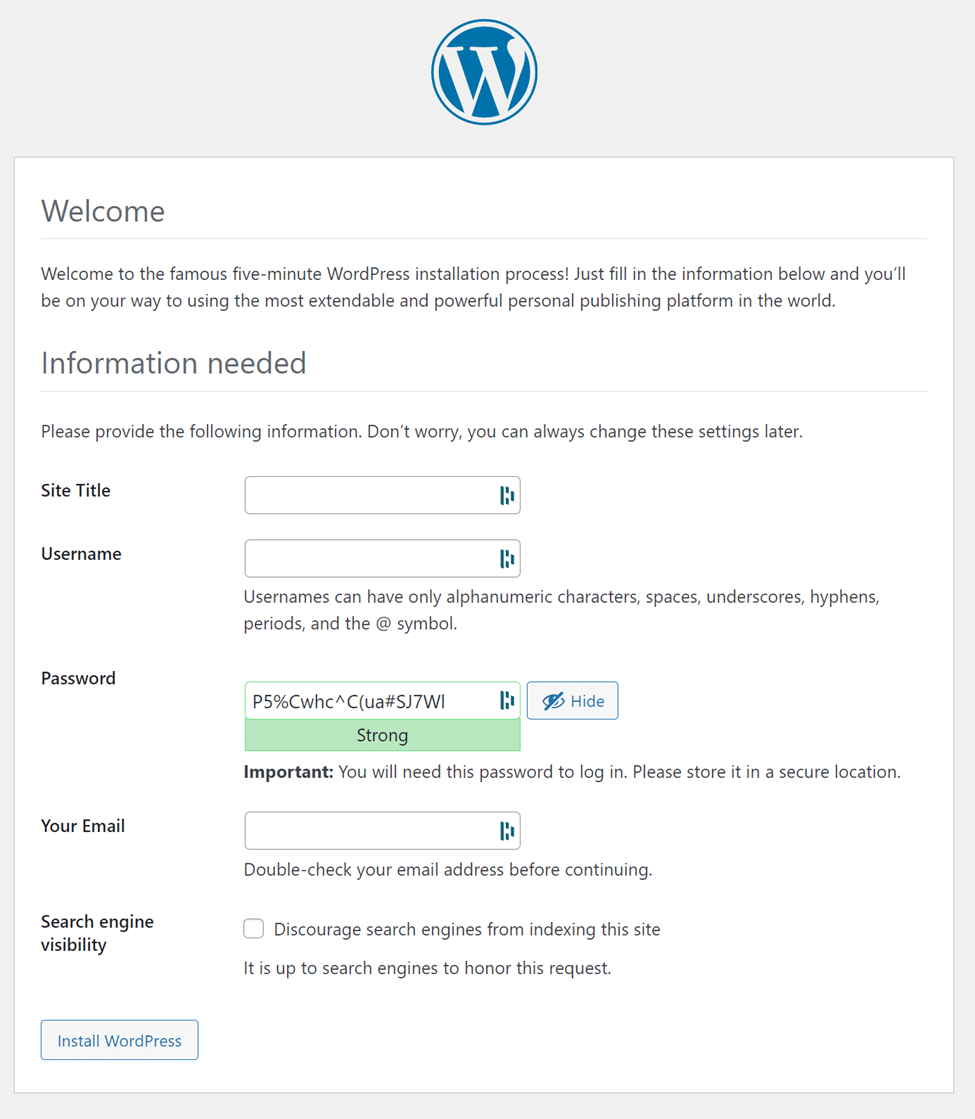
Verify that the WordPress app is active by opening your browser to http://localhost:80, which should display the WordPress welcome page.
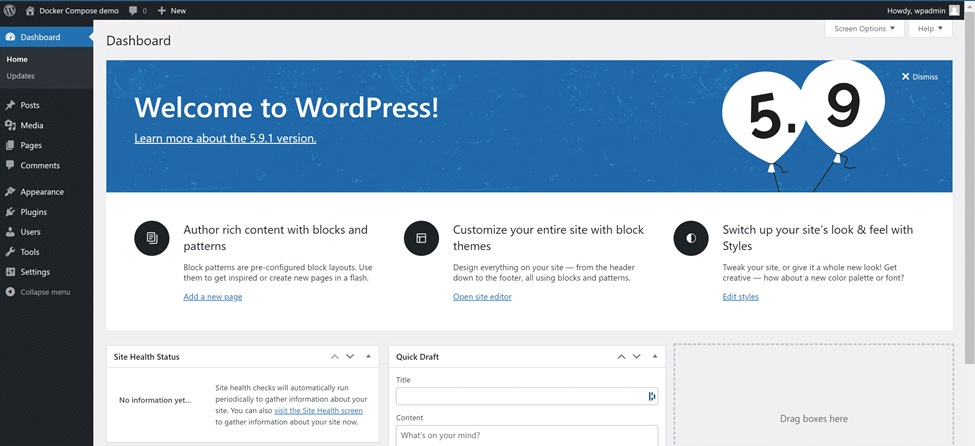
If you complete the required fields, it will route you to the WordPress dashboard to start using WordPress. This experience is identical to running on a server or hosting environment.
docker compose down command. 
Reusing the Environment
If you want to continue developing in this environment later, you just need to initiate a new docker compose up -d. After just a few seconds, this action will again present the development setup containing all of the previous information in the MySQL database.

However, let’s assume that we want to reuse the same environment but with a fresh database.
To bring down the environment and remove the volume — which we defined as part of the docker-compose.yml — run the following command:
docker compose down -v

Now, if you restart the environment by executing docker compose up, Docker Compose will prompt you with a new WordPress instance. WordPress will again ask you to configure settings including WordPress user, password, and website name.
It’s this easy to optimize your valuable development time.
While most Awesome Compose sample projects work out of the box, always start from the README.md instructions file. You’ll typically need to update the sample YML file with some environment specifics, such as a password, username, or chosen database name. If you skip this step, the runtime won’t start correctly.
Conclusion
Developers always need access to various agile application development and testing environments. Containerization has already optimized this process by standardizing container images. However, more complex microservices architectures, which rely on multiple containers working together, are still quite challenging. Fortunately, Docker Compose makes this process far more manageable.
Awesome Compose is Docker’s open source library of sample workloads that empowers developers to quickly start using Docker Compose. The extensive library includes popular industry workloads such as ASP.NET, WordPress, and React web front ends, which can connect to MySQL, MariaDB, or MongoDB back ends.
We can spin up samples from the Awesome Compose library in a matter of minutes. This enables us to quickly deploy new development and test environments on local machines or in cloud container hosting services. It takes minimal effort to customize the Docker Compose YAML files to get started.
Furthermore, destroying the sample is just as simple. This ease of use gives developers the freedom to perform various tests and run multiple simulations of the same workload.
Now that you understand the basics of Awesome Compose, check out some other samples and explore how Docker Compose can work for you.
If you’re interested in developing expert technical content that performs, let’s have a conversation today.