This article is the third and final part of our tutorial series working with Lob’s APIs. We’ll continue developing our postcard mailing management application.
We set up our application in part one and enabled our users to create Lob templates for postcards. In part two, we extended our application by allowing our users to enter destinations, verify the addresses, and send the postcard through the API.
In this final article, we’ll enable our users to manage the postcards that they’ve sent through the Lob API. We’ll list the mailings and let the user cancel them if necessary. We’ll also allow our application to let users know when the postcards have been sent and received by their customers. We use Lob’s webhooks function to develop an event-driven element in our application.
To follow along, you should first review the first and second articles. Let’s continue with this tutorial!
Completing our app
We’ll begin by adding a new page to our application. This page will allow us to list the postcards our user has mailed through the Lob API. First, we’ll add a route to our Node application to gather the data that we’ll need.
As we saw in the last tutorial, the Lob SDK for Node has excellent support for postcard operations. The list method takes two parameters:
- The options object with a limit property, telling the API the maximum number of records we want to return
- A callback function that receives any error and response following the Lob API query
As we did before, we’ll wrap this function in a promise and reject it if there’s an error. Otherwise, we’ll resolve with the response, using this data to create a reply for our users. Create a new file “backend/postcard/list.js” and add the following:
					import L from "lob";
export default async function listPostcards(req, res) {
   const Lob = L(process.env.LOB_SECRET_API_KEY);
   Lob.postcards.list(
       {
           limit: 50,
       },
       function (err, data) {
           if (err) {
               return res.status(err.status_code || 500).send({
                   success: false,
                   error_message:
                       err?._response?.body?.error?.message ||
                       err.message ||
                       "Unknown error.",
                   });
           } else {
               console.log(data.data)
               res.send({ success: true, postcards: data.data, count: data.count })
           }
       }
       );
}
The two most crucial pieces of information are the count and postcard array. We’re using the same error logic as in the previous article.
Let’s add the new endpoint to “backend/router.js”.
					import { Router } from "express";
import createTemplate from "./template/create.js";
import listTemplates from "./template/list.js";
import createPostcard from "./postcard/create.js";
import listPostcards from "./postcard/list.js";
const router = new Router();
router.post("/templates/create", createTemplate);
router.get("/templates", listTemplates);
router.post("/postcard/create", createPostcard);
router.get("/postcard/list", listPostcards);

export default router;
Creating the list component
We’ll now head to the front end and create the list component. Create a new file in “frontend/src/components/ListPostcards.vue”. We’ll add our postcard data first:
					<script setup>
import { ref, onMounted } from "vue";

const postcards = ref([]);

onMounted(() => {
	fetch("http://localhost:3030/postcard/list")
		.then((data) => data.json())
		.then((data) => (postcards.value = data.postcards));
});
</script>
We start by creating a ref value initialized as an empty array for our postcards. Once the component has mounted, we query our Node API and assign the data to our referenced value. Then, we use this data in our template.
					<template>
   <div>
   <h3 v-if="postcards.length > 0">Postcards</h3>
   <h3 v-else>You don't have any active postcards.</h3>
   <ul>
       <span v-if="postcard.from != null">
                  From {{ postcard.from.name }} to {{ postcard.to.name }}.
              </span>
              <span v-else>
                  From *Address Missing* to {{ postcard.to.name }}.
              </span>

   </ul>
   </div>
</template>
Here, we list each postcard sent through the API. We will complete this by adding the component to our frontend router. Add the route to the “frontend/router/index.js” file, so that the file resembles this:
					import { createWebHistory, createRouter } from "vue-router";
import ListTemplates from "../components/ListTemplates.vue";
import Front from "../components/Front.vue";
import CreatePostcard from "../components/CreatePostcard.vue"
import ListPostcards from "../components/ListPostcards.vue"
const routes = [
{ path: "/", component: Front, name: "Home" },
{ path: "/templates/list", component: ListTemplates, name: "ListTemplates" },
{ path: "/postcards/create", component: CreatePostcard, name: "CreatePostcard"},
{ path: "/postcards/list", component: ListPostcards, name: "ListPostcards"}
];
const router = createRouter({
 history: createWebHistory(),
 routes,
});
export default router;
As you can see, we modified some route names and imported the new component we just made.
Enabling cancellation
In the Lob settings, we can set a cancellation window for any postcard we create. By default, the window is five minutes. Let’s give our users the ability to cancel a postcard if they’re still within the window.

delete method requires the desired postcard ID. Let’s set up that function. Create a new file “backend/postcard/delete.js” with the following:
					import L from "lob";

export default async function cancelPostcard(req, res) {
 const Lob = L(process.env.LOB_SECRET_API_KEY);
 const id = req.params.id;
 Lob.postcards.delete(id, function (err, response) {
   if (err) {
       return res.status(err.status_code || 500).send({
           success: false,
           error_message:
             err?._response?.body?.error?.message ||
             err.message ||
             "Unknown error.",
         });
   } else {
       res.send(response);
   }
 });
}
id. Then we pass that through as a dynamic parameter. Add the following to the “backend/router.js” file:
import cancelPostcard from "./postcard/delete.js";
send_date property. We need to check that it’s currently before that time. In our script tag, we create a canCancel function in the “frontend/src/components/ListPostcards.vue” file.
					function canCancel(sendDate) {
	const now = new Date();
	const then = new Date(sendDate);
	return now < then;
}
Now, if we can cancel our mailing, then we should see a button with that option. Modify the template section in the same file with the following:
					<ul>
	<li v-for="postcard in postcards">
<span v-if="postcard.from != null">
                   From {{ postcard.from.name }} to {{ postcard.to.name }}.
               </span>
               <span v-else>
                   From *Address Missing* to {{ postcard.to.name }}.
               </span>

		<span
			v-if="canCancel(postcard.send_date)"
			class="cancel"
		>Cancel</span>
	</li>
</ul>
Lastly, we add a cancel function to our script and give our template the ability to use it. First, we add the “cancel” function to “frontend/src/components/ListPostcards.vue” script section:
					<script setup>
// other code
function cancel(id) {
	fetch(`http://localhost:3030/postcard/cancel/${id}`)
		.then((data) => data.json())
		.then((data) => {
			if (data.deleted) {
				postcards.value = postcards.value.filter(postcard => postcard.id !== id)
			}
		});
}
</script>
Then we add the “cancel” function to the template section of the same file and add some styling.
					<template>
         <!-- other code -->
           <ul>
		<li v-for="postcard in postcards">
<span v-if="postcard.from != null">
                   From {{ postcard.from.name }} to {{ postcard.to.name }}.
               </span>
               <span v-else>
                   From *Address Missing* to {{ postcard.to.name }}.
               </span>

			<span
				v-if="canCancel(postcard.send_date)"
				@click="cancel(postcard.id)"
				class="cancel"
			>Cancel</span>
		</li>
           </ul>
        <!-- other code -->
</template>
<style>
.cancel {
   cursor: pointer;
   border: 1px solid red;
   color: red;
   border-radius: 10px;
   padding: 6px;
}
</style>
When we add some styling, we’re good to go!

Tracking the mailing process
Now that our postcards are working their way through the system, we’ll want to track critical events that occur during their journey. From this, we might want to update product owners or marketing managers about potential issues or opportunities.
The Lob API provides a whole host of events to which we can respond. We can create a webhook that will be triggered by any of these events.
We can follow our postcard’s journey from creation to delivery. If there are any issues on the way — like if the mail is re-routed or returned, for example — then we can track and respond to these events.
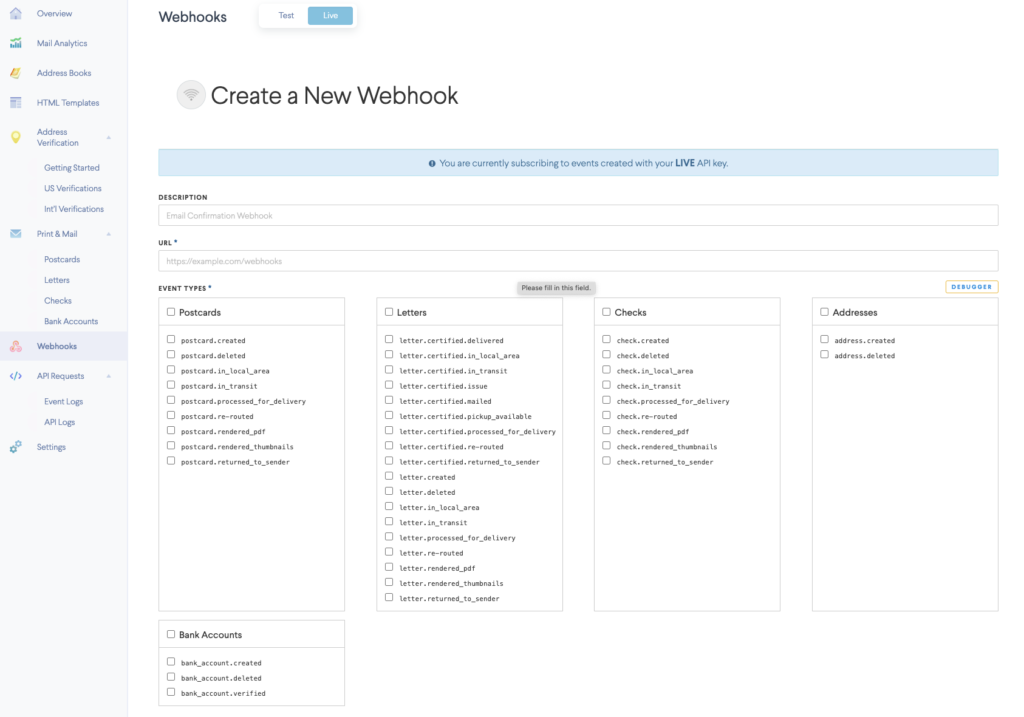
To set up the tracking, we provide our callback URL and select the events we want to subscribe to.
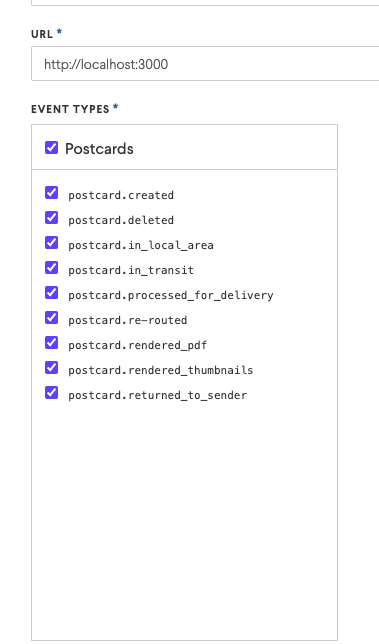
Lob then calls that URL whenever these events happen in our postcard’s lifecycle. All Lob needs is a timely response to these hooks with a status code in the 2xx range.
We can use a tool like Webhook.site to explore the shape of the callback body. This provides us with a temporary callback URL to see the shape of the webhook body. We can also look at this shape on our own server.
Let’s set up our handler function in our backend. Create a new file in “backend/postcard/callback.js” and add the following:
					export default function callback(req, res) {
 const eventType = req.body.event_type.id;

 const from = req.body.body.to.name;
 const to = req.body.body.from.name;

 switch (eventType) {
   case "postcard.created":
   case "postcard.deleted":
     // update the billing software
     break;
   case "postcard.mailed":
     console.log(
       `Send an email to the admin that the postcard sent from ${from} to ${to} is in the mail.`
     );
     break;
   case "postcard.re-routed":
   case "postcard.returned_to_sender":
     // A possible problem? Update CRM to reach out about possible change of address.
     break;
   default:
   // Update the CRM dashboard in some way.
 }

 res.send({ message: "ok" });
We receive plenty of information in the callback body, but we only capture the most helpful information. We get the eventType along with the sender and recipient names. We can switch on the event type to enable this API to integrate with our business operations. Leveraging the power of the Lob API can make the print channel an effective way to keep your customers engaged.
The last step is the add this to the “backend/router.js” file. We will name this route “/postcard/webhook”.
					import callback from "./postcard/callback.js";
router.post("/postcard/callback", callback);
Conclusion
Throughout this tutorial, we’ve created a front and back-end application to integrate with Lob’s APIs. We’ve leveraged the Node SDK to speed our efforts and provide results for our clients quickly. We’ve saved the project code for you to consult while you’re getting started with Lob.
In the first article of this series, we created our basic application and enabled our users to create a postcard template. In the second article, we expanded our application by creating address forms and enabling address verification, eventually sending our postcard to print. Finally, we expanded the application by providing tracking information for the user’s mailings and allowing them to cancel. Users can now employ this app to create and manage their print campaigns.
You can expand this application even more by enabling a wider variety of print mail types and customizing the app with your company’s logo, for example. Or, you can incorporate Lob’s Print & Mail and Address Verification APIs into a brand new project.
It’s straightforward to integrate Lob’s APIs into your applications and enable your users to take advantage of this tactile marketing channel. Sign up and try Lob’s Print & Mail API today to keep your customers engaged.
If you’re interested in developing expert technical content that performs, let’s have a conversation today.