Conjur security policies ensure your Kubernetes resources can access the secrets they need while keeping your credentials secure. You enable this access by linking resources to a host. Think of a host like the user account of an application (like a virtual machine or container) that allows it to access secrets. Your policies determine which hosts can access which secrets.
This article demonstrates how to set up Conjur host policies to work with different types of Kubernetes resources, such as namespaces, Deployments, StatefulSets, service accounts, and Pods. We’ll also discuss when it’s appropriate to allow the resource to obtain secrets from Conjur. Follow along to set up Conjur for your own Kubernetes resources.
Prerequisites
You’ll need the following to load the policies we define in this article:
- Running Kubernetes cluster
- Linux environment preconfigured to administer Kubernetes
- Conjur for Kubernetes set up
- Conjur CLI installed
For more information on how to do all of this, refer to the previous articles:
- Setting Up the Conjur Kubernetes Authenticator
- Using the Conjur Secretless Broker with Kubernetes
We use an Ubuntu terminal for our demonstration.
Applying Policies to Namespaces
When we apply policies at a namespace level, they apply to all resources in that namespace. We typically use this level when all our namespace’s applications share secrets, and we manage their corresponding access as a whole.
To assign permissions at the resource level using policies, we use annotations. For example, let’s have a quick look at our current available namespaces:
kubectl get namespaces
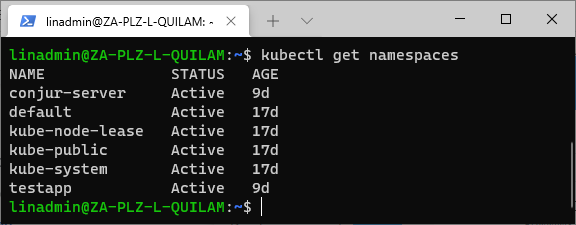
We currently have a namespace for our test app called testapp. To assign permission to our host called testapp-secure on a namespace level, we define our policy like below:
					- !policy
  id: apps
  body:
    - !group

    - !host
      id: testapp-secure
      annotations:
        authn-k8s/namespace: testapp
        authn-k8s/authentication-container-name: secretless

    - !grant
      role: !group
      member: !host testapp-secure
You might notice the additional annotation for authentication-container-name. This annotation defines the specific Conjur authenticator that authenticates the app. In our case, it’s the secretless container, as we have set up the secretless broker and called it “secretless.” For more information on how this is done, refer back to the article titled Using the Conjur Secretless Broker .
We then name our file “app-namespace.yml” and store it with the code above in a folder called “security.”
To load the YML file into our Conjur server, we execute the following statement:
conjur policy load root /root/security/app-namespace.yml
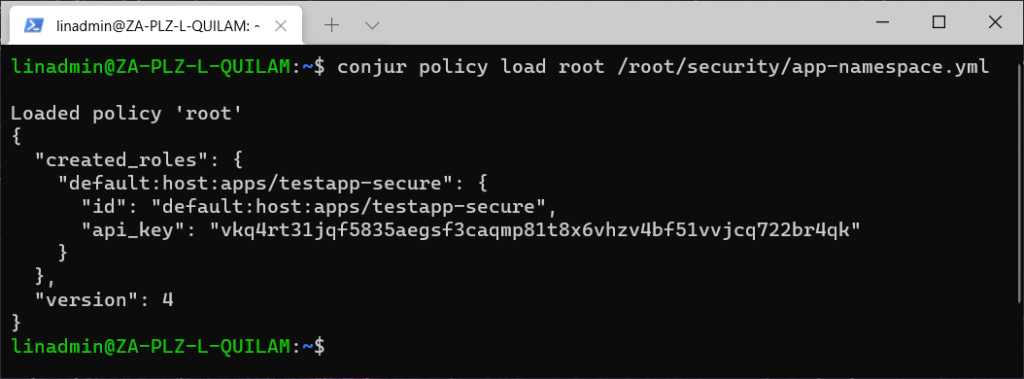
This file creates a new role for our host. We’ll need to use the API key when authenticating that role.
Applying Policies to Deployments
Deployment-level policies target a specific deployment within a namespace. We typically use this access level when a group of stateless applications shares secrets and access management rules.
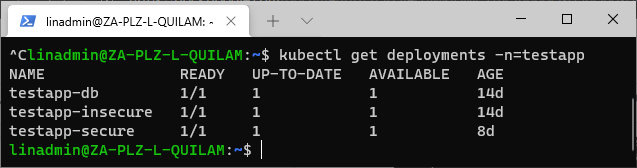
The Deployment policy definition is almost identical to a namespace policy except for the additional line where we specify the deployment annotation. For example, let’s look at our available deployments for our testapp namespace:
kubectl get deployments -n=testapp
security/app-deployment.yml
					- !policy
  id: apps
  body:
    - !group

    - !host
      id: testapp-secure
      annotations:
        authn-k8s/namespace: testapp
        authn-k8s/deployment: testapp-secure
        authn-k8s/authentication-container-name: secretless

    - !grant
      role: !group
      member: !host testapp-secure
We then load the policy the same way as previously:
conjur policy load root /root/security/app-deployment.yml
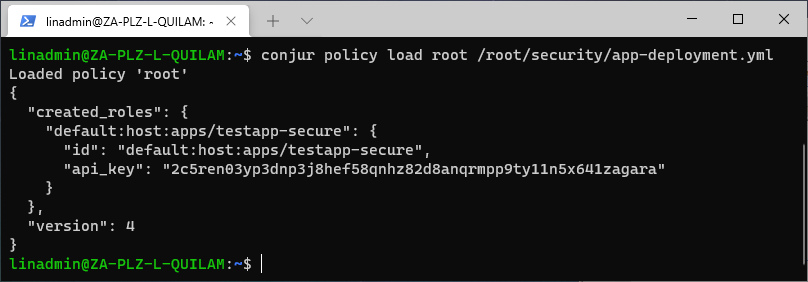
Like with the namespace, we have now created a new role that applies permission to all stateless apps in the testapp-secure deployment under the testapp namespace.
Applying Policies to StatefulSets
The Kubernetes StatefulSet name within a specific namespace manages permissions. We generally use this level when a group of stateful applications shares secrets and access management rules.
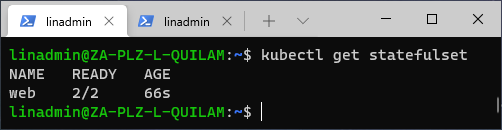
To check for StatefulSet applications, we execute this command:
kubectl get statefulset
security/app-statefulset.yml
					- !policy
  id: apps
  body:
    - !group

    - !host
      id: nginx
      annotations:
        authn-k8s/stateful-set: web
        authn-k8s/authentication-container-name: secretless

    - !grant
      role: !group
      member: !host nginx
We then load the policy:
conjur policy load root /root/security/app-statefulset.yml
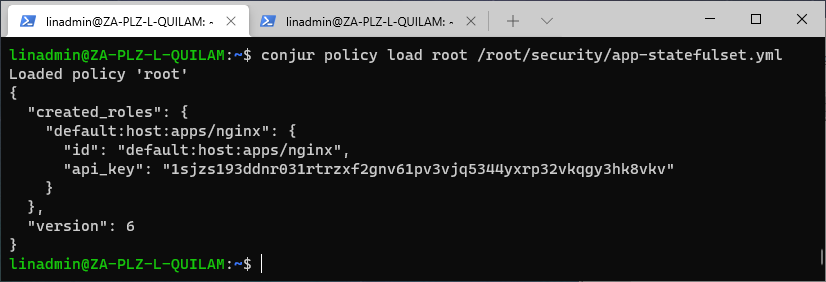
As Kubernetes StatefulSets are similar in function to Deployments, we use the annotation for StatefulSet instead of and not in conjunction with the Deployment. The absence of a namespace creates the policy under the default namespace.
Applying Policies to Service Accounts
We can also apply a policy to a service account within a namespace. We implemented this level in our previous article, Set Up the Conjur Kubernetes Authenticator , in the policy for authenticator identities. This is because it serves as a good starting point for our policies.
We can quickly build security policies on top of our service account access control. The downside of building on top of this level is that we need to manage both levels. We recommend using this level as a transition toward StatefulSet or Deployment resources as application identities.
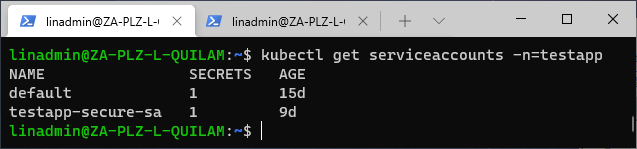
We want to apply this level to our namespace testapp, so let’s see which service accounts are available:
kubectl get serviceaccounts -n=testapp
security/app-serviceaccount.yml
					- !policy
  id: apps
  body:
    - !group

    - !host
      id: serviceaccount-testapp-secure
      annotations:
        authn-k8s/namespace: testapp
        authn-k8s/service-account: testapp-secure-sa
        authn-k8s/authentication-container-name: secretless
        kubernetes: "true"

    - !grant
      role: !group
      member: !host testapp-secure
After we define our policy, we can load it:
conjur policy load root /root/security/app-serviceaccount.yml
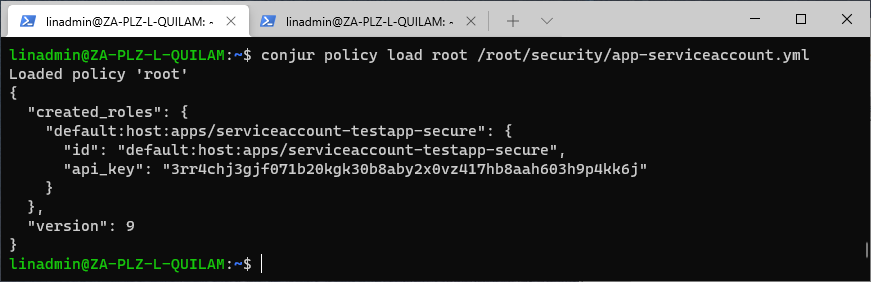
We already have a service-based account, so we need to use a different ID to create a new policy. Otherwise, we’ll just get the empty policy declaration with an updated version number. We also specify that we will use the policy in Kubernetes instead of OpenShift.
Applying Policies to Pods
You can also apply policies at the Pod level. We recommend managing a security policy by a Pod name within a namespace only for testing and proof of concept (POC). Pods are somewhat unstable as they restart too often, making them unreliable to use as a security dependency.
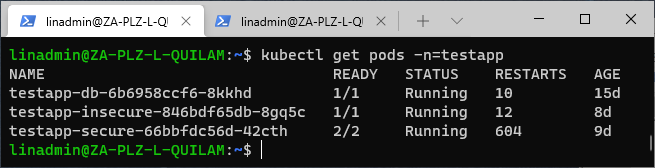
As before, we can see which Pods are available using:
kubectl get pods -n=testapp
security/app-pod.yml
					- !policy
  id: apps
  body:
    - !group

    - !host
      id: pod-testapp-secure
      annotations:
        authn-k8s/namespace: testapp
        authn-k8s/pod: testapp-secure-66bbfdc56d-42cth
        authn-k8s/authentication-container-name: secretless

    - !grant
      role: !group
      member: !host testapp-secure
Now, let’s load the policy:
conjur policy load root /root/security/app-pod.yml
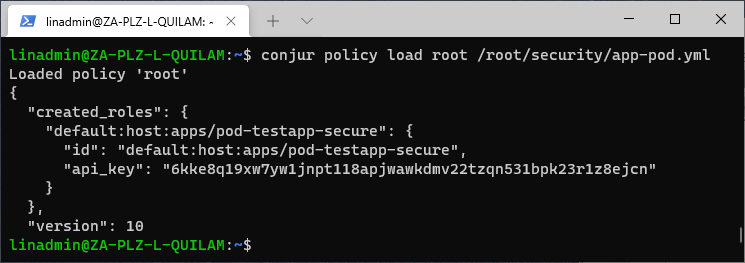
We have now loaded our policy for the Pod level. We should only use these Pod-level permissions for testing.
Removing a Policy
We’ve loaded all these policies, but what happens if we made a mistake? We can call the load command again to update our policy’s version number and apply the new changes.
What do we do if we created the policy by mistake and it should not exist? We call the delete command to remove the entire policy. For example, say we finished testing with the Pod policy and now want to remove it. To remove the policy, we execute the following command:
conjur policy load --delete root /root/security/app-pod.yml
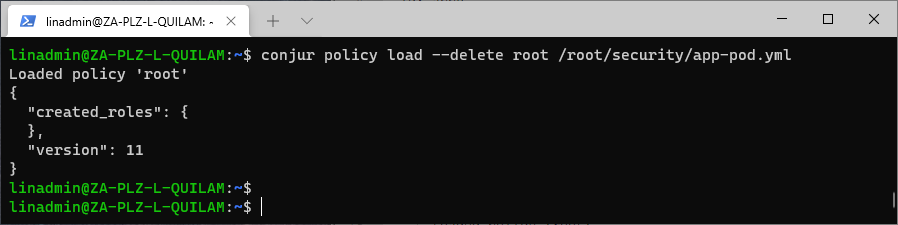
The empty created_roles notification shows that the Pod policy is now gone.
Conclusion
You use similar methods to create and load security policies for your various Kubernetes resource levels. So, it’s essential to understand when and where to use each policy level.
Loading the policy enables the authenticator to authenticate your hosts in Conjur securely. This policy-based authentication ensures the various resources can access the secrets they need to run without getting more access than they require, keeping your secrets secure.
Now that you know how straightforward it is to create policies for specific Kubernetes resource levels, set up and try Conjur for yourself. For more information, read Application Identity in OpenShift/Kubernetes.
If you’re interested in developing expert technical content that performs, let’s have a conversation today.